|
Hello!
In this email I'm going to teach you a quick, but valuable lesson on shell
scripting.
First off, a shell script is simply a file that contains a series of Linux
commands and shell statements. When a shell script is executed, it in turn
executes the commands listed in the script. It starts at the top and
executes the commands on each line, one line a time, until the end of the
file.
By the way, the script's filename doesn't matter. You may be used to a
different operating system where files have to have a specific file
extension before they will be treated as an executable. (I'm talking about
".exe" files in Windows, for example.) That's not the case with
Linux shell scripts.
By convention, shell scripts end in ".sh", but it is not a
requirement. The following are all valid shell script names:
·
use-the-force.sh
·
do_or_do_not_there_is_no_try
·
ThisIsSomeRescue
What IS important
is that your shell script has executable permissions. (We'll get to that in
just a second.)
If you remember the advice from my previous email, it's best to start with
the end in mind. So, the goal for this shell script is to collect and display
some basic information about a Linux system.
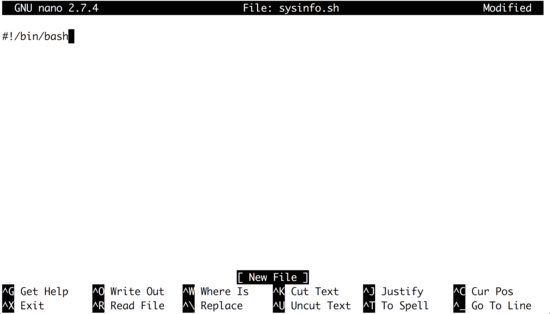
If you want to follow along, open up a terminal on a Linux system and
create a new file named "sysinfo.sh". If you have a favorite text
editor, use that. If you don't, I suggest that you use nano as it's simple
to use and always displays help at the bottom of the screen.

The very first line of every script you write should begin with
"#!" followed by the path to an interpreter. We're going to write
a bash shell script, so we'll use "#!/bin/bash". If you were
going to write a Python script this line would be
"#!/usr/bin/python"; a ruby script would be
"#!/usr/bin/ruby" and so on.
One very common task you'll perform in your shell scripts is displaying
messages on the screen. To do this, use the echo command followed by
whatever you want to display to the screen and enclose it in quotes. Like
this:

Now save your changes and exit your editor. If you're using nano type
Ctrl-X to exit, then type "Y" to save your changes, and finally
press ENTER to write the changes to your script.
The next step is to add executable permissions to your script. You do this
with the chmod command, which stands for "change mode". There are
different ways to add executable permissions to a file, but the simplest is
chmod +x FILE_NAME.

Now you're ready to execute your shell script. You do this by typing
"./" followed by the script name. In this example, you would run
"./sysinfo.sh":

You'll see the text you supplied to the echo command displayed on your
screen.
Now that you have a working shell script with the proper permissions, you
can continue writing your script. Let's add some commands that will display
information about the Linux system.
First, display the current date and time when this information was
collected.

Next, display the hostname of the system.

Next, display the kernel release followed by the architecture. You'll need
to use the uname command to do this.
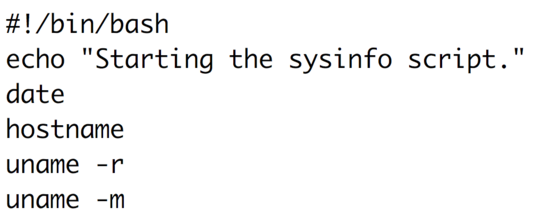
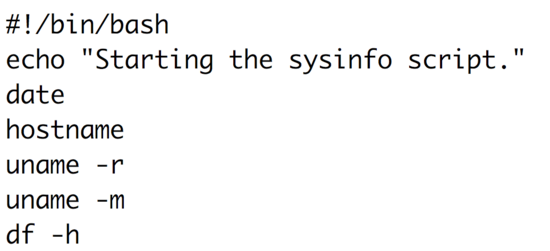
Display the disk usage in a human readable format.
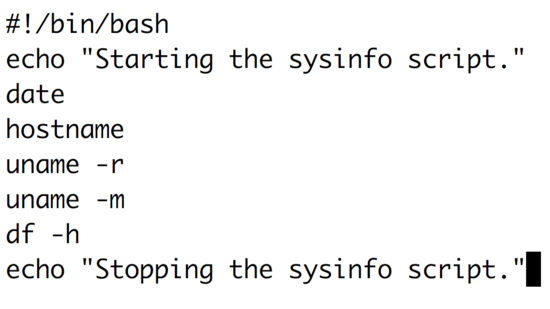
Finally, end the script by letting the user know that it's done.
It's time to see what your script does! Save your changes and execute your
script.
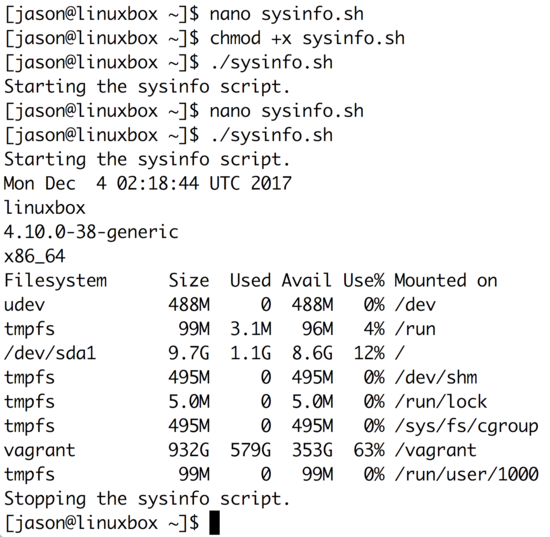
Now you have a script that displays some basic information about the system
you're on. You could easily expand this to show information about the CPUs,
memory, networking configuration and more.
If you would like to write even more in-depth and practical scripts, reserve your seat in the upcoming shell
scripting class. Registration closes a week from Sunday
and class runs for 4 weeks. I'm limiting the number of students, so I can
give individual attention to everyone in the class.
Hope to see you there!
Jason
P.S. The shell scripting class is currently being offered at a deeply
discounted rate, so now is a great time to enroll. ;-)
|
No comments:
Post a Comment